Mini-Split Installation in Vassar, KS
Vassar, KS customers seeking efficient, ductless cooling and heating can rely on expert mini-split installation from All Seasons Air Conditioning and Heating. We outline ductless benefits, from precise zoning and energy savings to quick, low-disruption installs. We cover unit types, common issues, and the importance of on-site load calculations, then explain selecting compatible indoor and outdoor components and the necessary line-set, electrical work, and weatherproofing. Our process includes code compliance, testing, documentation, homeowner orientation, maintenance basics, and realistic preparation steps for a smooth, lasting system install.
Mini-Split Installation in Vassar, KS
Mini-split installation in Vassar, KS offers a practical, energy-efficient solution for homes and additions that need reliable cooling and heating without ductwork. Vassar’s humid summers and cold winters make a properly sized ductless system particularly valuable: a correctly installed mini-split provides precise temperature control, lower energy use for zone conditioning, and improved comfort in rooms that are hard to serve with a central system.
Why choose a mini-split for Vassar homes
- Ductless flexibility: Ideal for older Vassar homes, historic structures, finished basements, or new additions where installing ducts is impractical.
- Year‑round performance: Modern mini‑split heat pumps deliver efficient cooling in the summer and dependable heating during shoulder seasons and milder winter days.
- Zoned comfort and savings: Condition only the rooms in use—useful in rural properties or multi-level homes common in the area—to reduce energy waste.
- Quick installation with minimal disruption: Compared with full ductwork projects, a multi‑zone mini‑split can be installed with limited interior demolition.
Common mini-split types and common issues in Vassar
- Single‑zone wall‑mounted units for individual rooms
- Multi‑zone systems with one outdoor compressor and several indoor heads (wall, ceiling cassette, or floor console)
- Cold‑climate heat pump models for better winter performance
Common installation or performance issues seen locally:
- Undersized units due to skipped load calculations leading to short cycling
- Poor indoor unit placement that causes uneven comfort or blocked airflow
- Inadequate electrical upgrades or lack of a dedicated circuit
- Improper refrigerant charge from extended line lengths or leak-prone fittings
- Clogged condensate drains or improper slope causing indoor water issues
On-site evaluation and load calculations
An accurate installation begins with an on-site evaluation and Manual J load calculation. Technicians assess:
- Square footage and room-by-room heat gains and losses
- Insulation levels, window orientation, and shading (important for Vassar’s hot summer sun)
- Number of occupants and typical usage patterns
- Ceiling heights and connected spaces
This evaluation determines the correct capacity and whether single-zone or multi-zone systems are appropriate. Avoiding guesswork prevents common problems like oversized compressors or inadequate indoor airflow.
Selecting compatible indoor and outdoor units
Choosing compatible components ensures efficiency and longevity:
- Match capacity between outdoor compressor and indoor heads
- Select indoor head styles suited to room layout (wall for bedrooms, cassette for open living areas)
- Confirm SEER and HSPF ratings for the desired efficiency and local climate performance
- Consider noise levels for bedroom units and outdoor unit placement to reduce neighbor impact
Line-set and electrical work
Proper line-set and electrical installation are critical for safety and system performance:
- Refrigerant line‑sets should be measured for length and elevation changes; longer runs may require refrigerant adjustments or larger compressors
- Wiring must meet NEC requirements; most installations need a dedicated circuit and a local disconnect near the outdoor unit
- If service panels are full, a subpanel or electrical upgrade may be necessary—permits and inspections typically require this work to be done to code
- Weatherproofing and surge protection are considered for Vassar’s summer storms
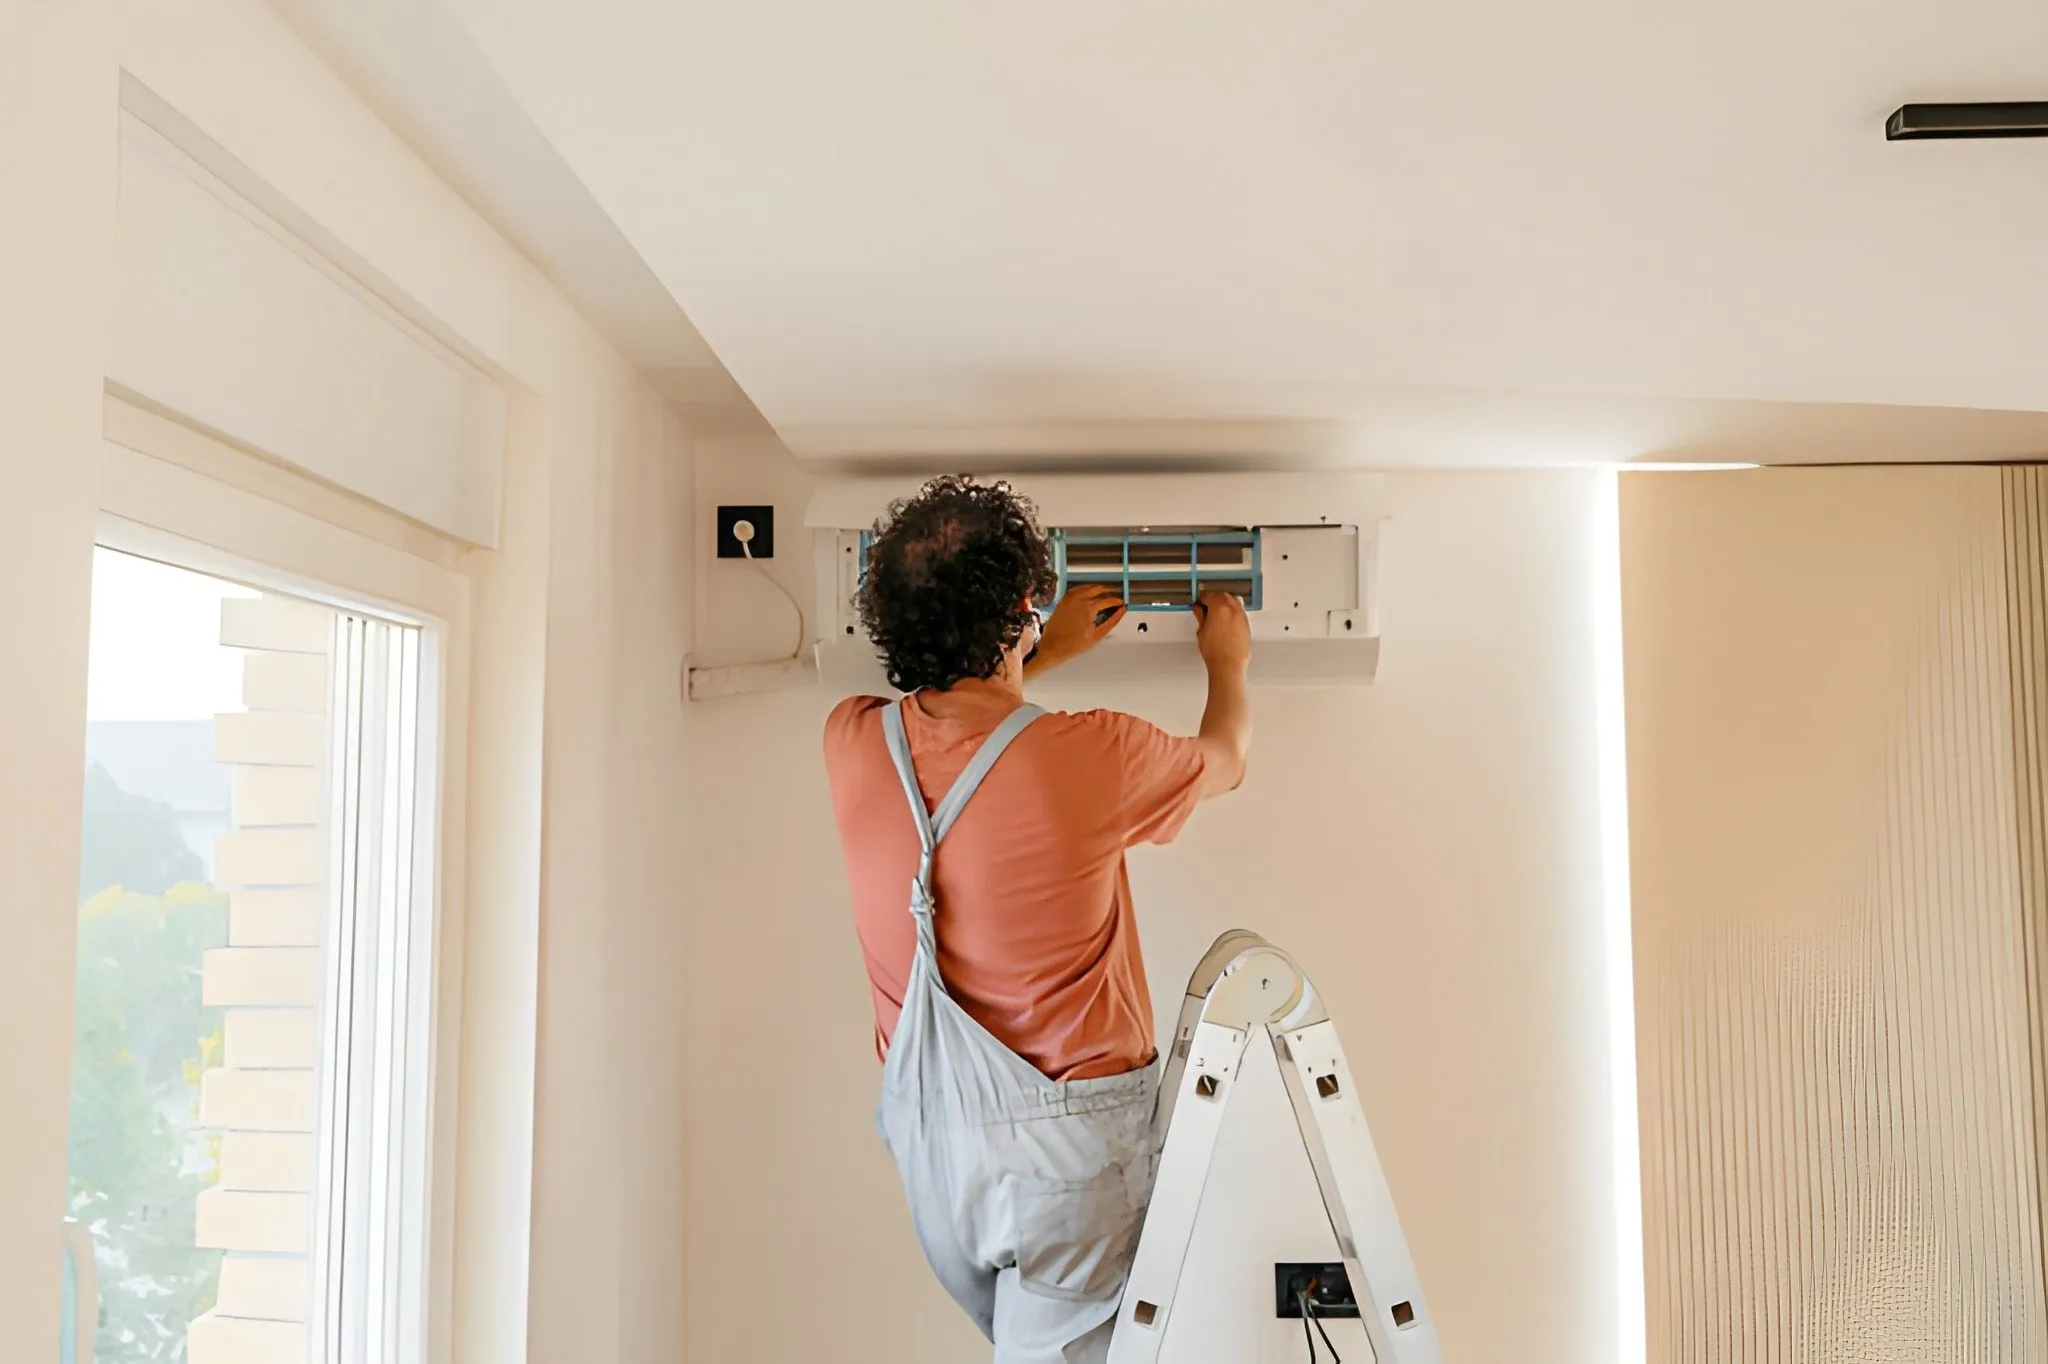
Mounting and refrigerant charging
- Indoor units are mounted to secure brackets that align with structural framing and avoid studs or electrical/cable runs.
- Outdoor units are placed on level pads or wall brackets that keep the compressor clear of snow, debris, and standing water.
- After the line-set is brazed and insulated, systems are evacuated with a vacuum pump to remove moisture and non‑condensables.
- Refrigerant is charged to manufacturer specifications using gauges and measurements for superheat and subcooling—this step ensures efficiency and prevents premature compressor wear.
Code, permit considerations, and environmental compliance
Local building permits and inspections are commonly required. Installers will:
- Submit electrical and mechanical permit applications as required by the local building department
- Adhere to local codes for discharge and noise limits for outdoor units
- Ensure EPA refrigerant handling and recovery practices are followed; technicians must be EPA certified to work with regulated refrigerants
Post-installation testing and documentation
Comprehensive testing confirms correct operation:
- Leak testing of refrigerant lines and pressure checks
- Vacuum integrity testing and proper refrigerant charge verification
- Electrical checks for amp draw, voltage, and correct breaker sizing
- Airflow verification and measured temperature split between return and supply
- Condensate drain flow and termination check to prevent interior damage
Technicians should leave a start‑up form and equipment documentation detailing model numbers, serial numbers, and operating settings.
Homeowner orientation and maintenance basics
A full orientation helps homeowners get the most from their mini‑split:
- How to use the remote or wall controller, set schedules, and switch modes
- Filter removal and cleaning intervals (typically every 1–3 months depending on use)
- How to visually inspect indoor and outdoor units for debris, insect nests, or ice buildup in winter
- Signs of trouble to watch for: reduced airflow, unusual noises, frost on the outdoor coil, or water leaks
Routine maintenance preserves efficiency: cleaning filters, annual refrigerant and electrical checks, and verifying drain lines remain clear are standard recommendations.
Preparation steps for installation day (what to expect)
Preparing the home reduces delays and keeps the installation efficient:
- Clear work areas and access routes for the indoor unit and outdoor compressor
- Move furniture away from the chosen wall and remove wall decor near the mount location
- Ensure pets and children are secured away from work areas
- Confirm a clear electrical path from the main panel to the outdoor unit location
- Expect a typical single-zone install to take several hours; multi‑zone systems commonly require one to two days depending on complexity and drywall or conduit runs
Long-term benefits and considerations for Vassar homeowners
When properly installed and maintained, a mini‑split provides:
- Stable, efficient comfort with lower operating costs for zoned conditioning
- Reduced indoor humidity during Vassar’s humid months
- Flexibility to add zones later as needs change
- Less invasive installation compared with ducted systems—especially valuable for older or historic homes
Choosing a qualified, certified installer who performs accurate load calculations, follows local permitting rules, and documents system start‑up is essential to getting the full performance and lifespan from a mini‑split system in Vassar, KS.
Customer Testimonials
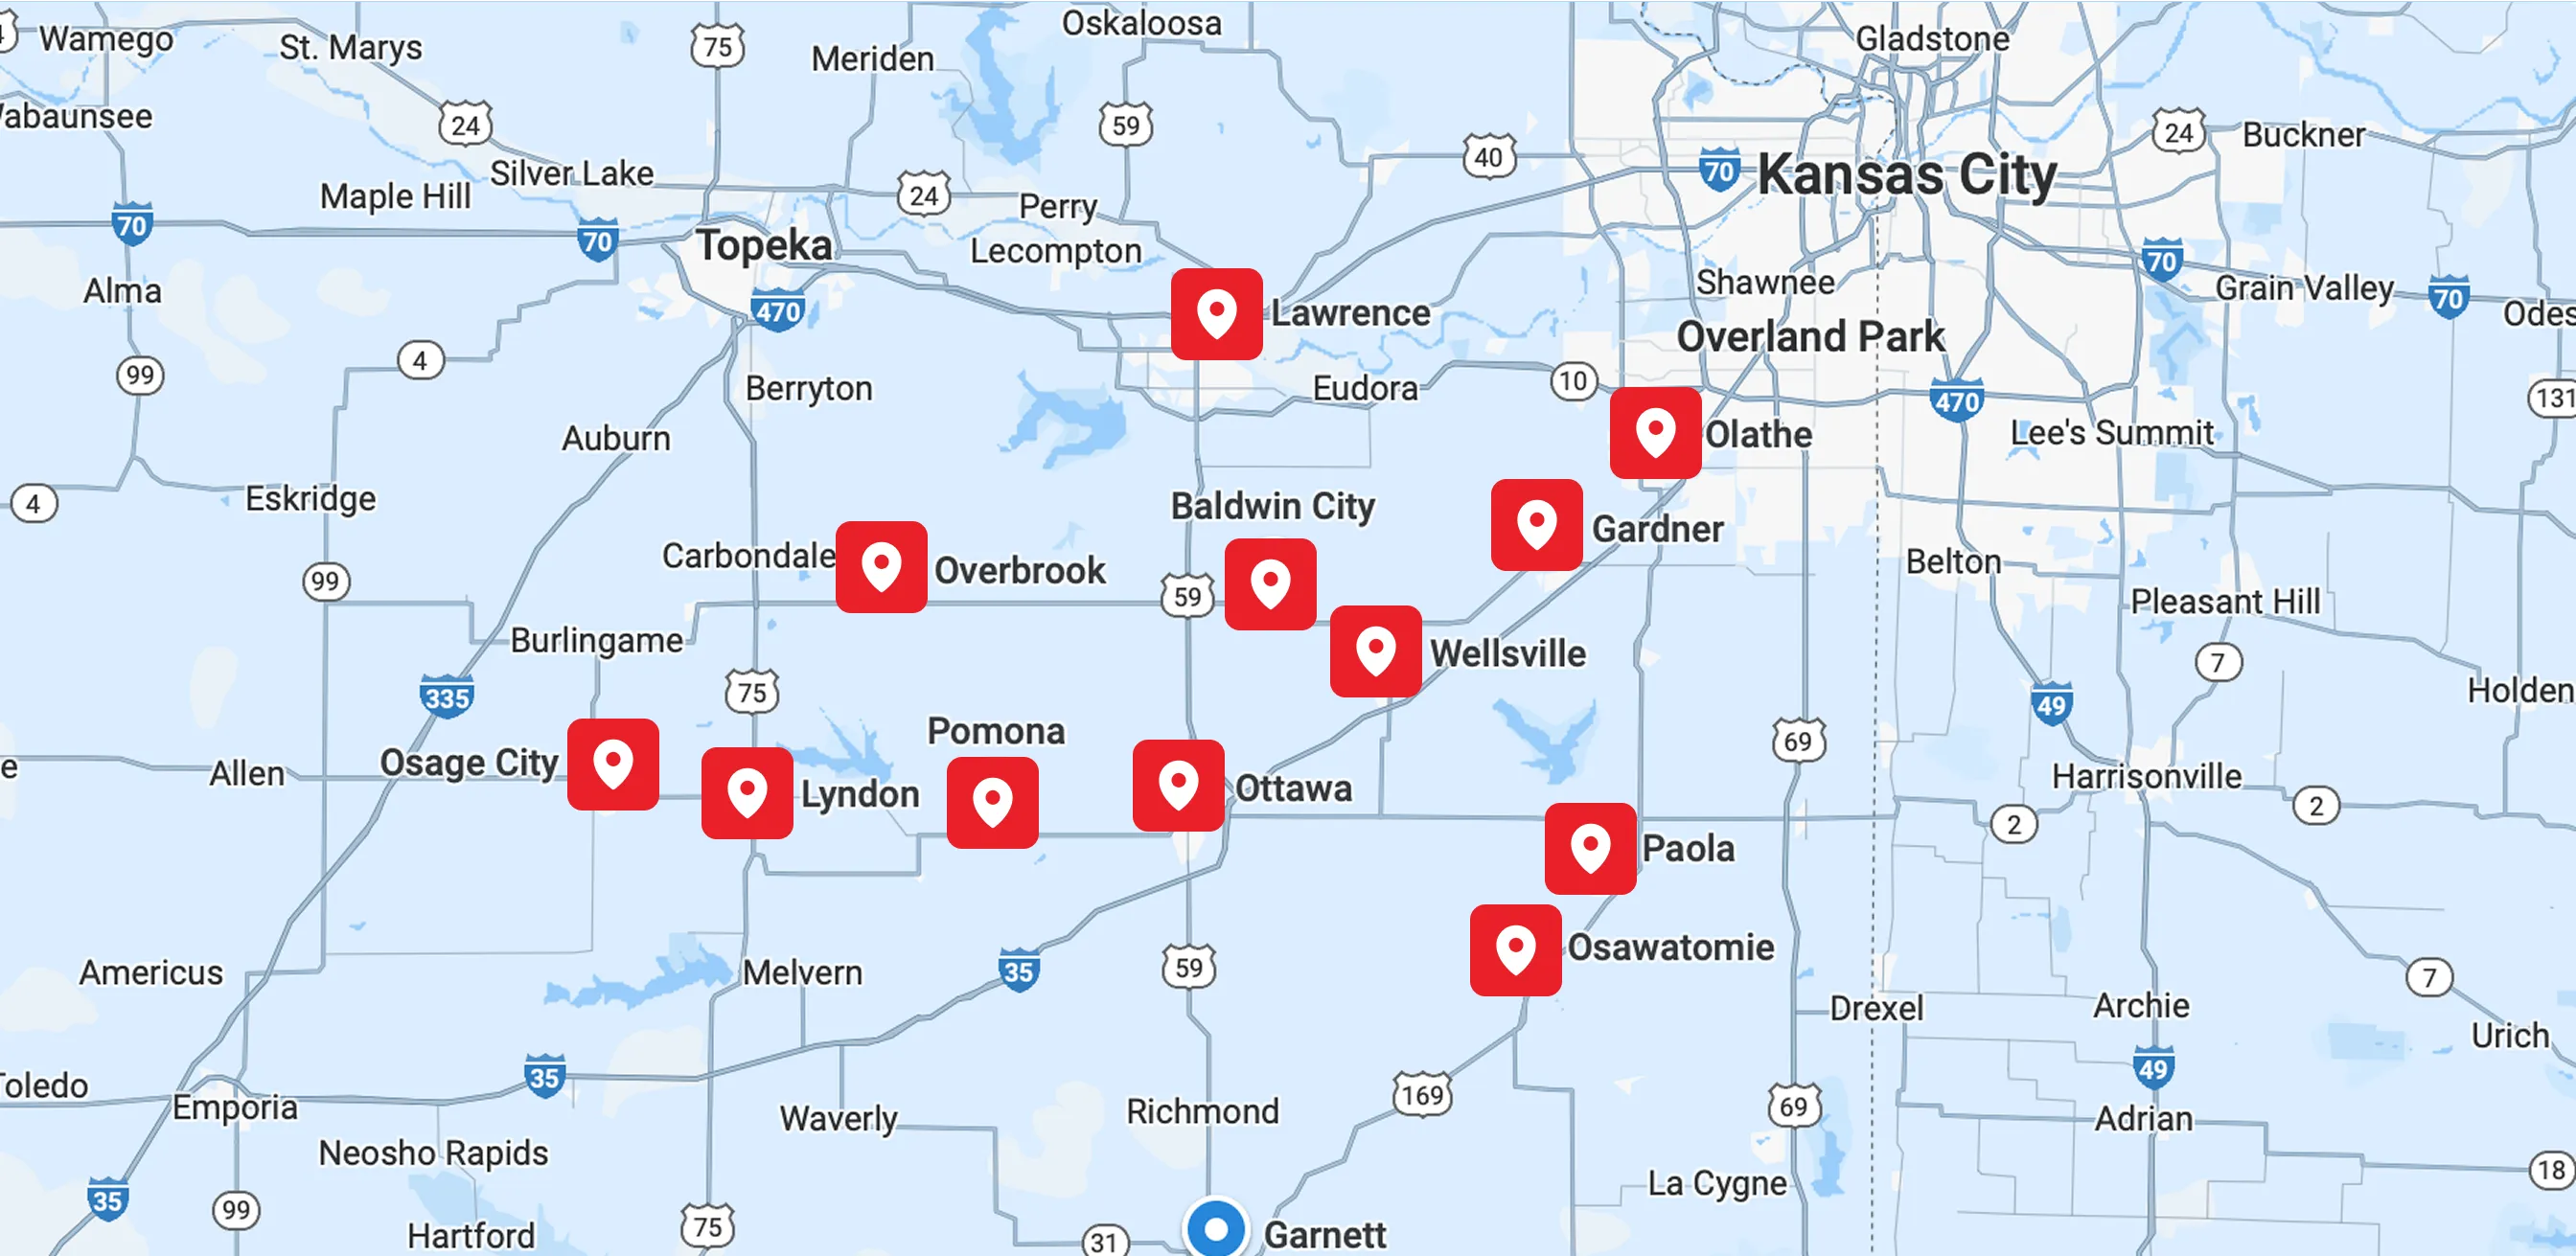
Service Areas